2019 NOTE: SO much has changed over the years! To see what I am up to these days, come check out my current blog Megan Does Adventures — Thank you for stopping by! — Love, Megan
As seen on Disney Baby
I’ve had SO many people ask me how we made Elise’s Minnie Mouse Car. It was so much fun to do, and Elise LOVES it! It really turned into a family project.

I found the idea on pinterest, but it was just a picture. Finally I found someone who had done it and blogged about it, Little Corbin Hill. She did a great job, and her car is super cute too, but there are a few things I did differently and a few shortcuts that we took to make it easier!
My husband’s sister had a car lying around that her two boys had outgrown, so she gave it to us. If you don’t happen to have an old car already, I would look long and hard at yard sales and such before purchasing a new one. Little Corbin Hill said she did her project for pretty cheap, but I didn’t have any of the materials already, so we had to buy everything, which quickly adds up. If you had to buy a new car on top of that, it would be pretty pricey.
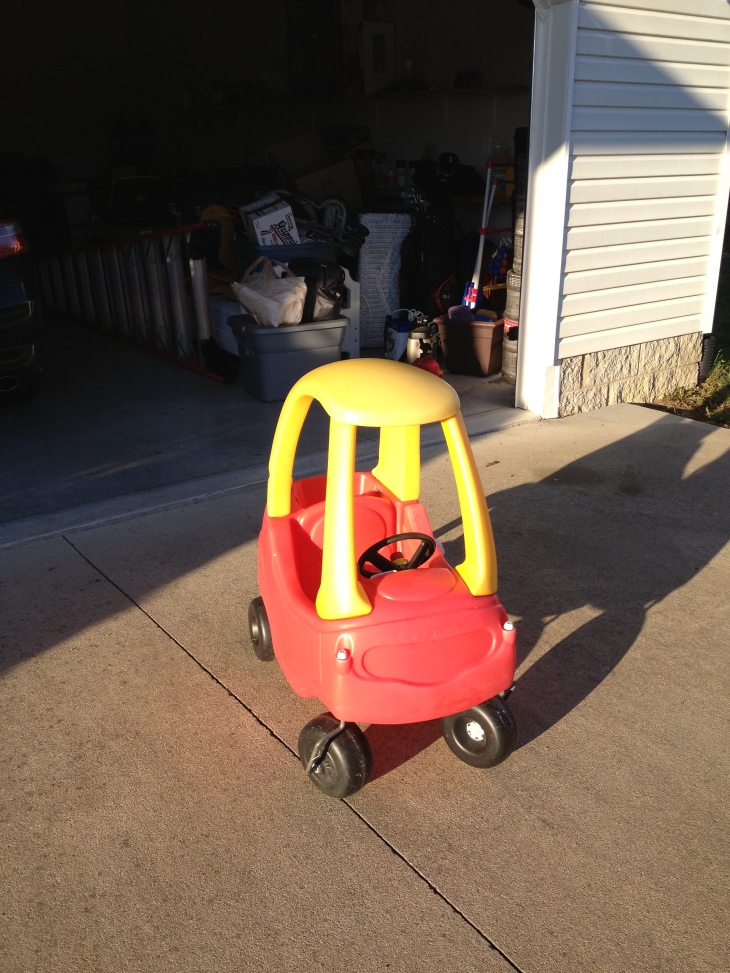
Here is the before:
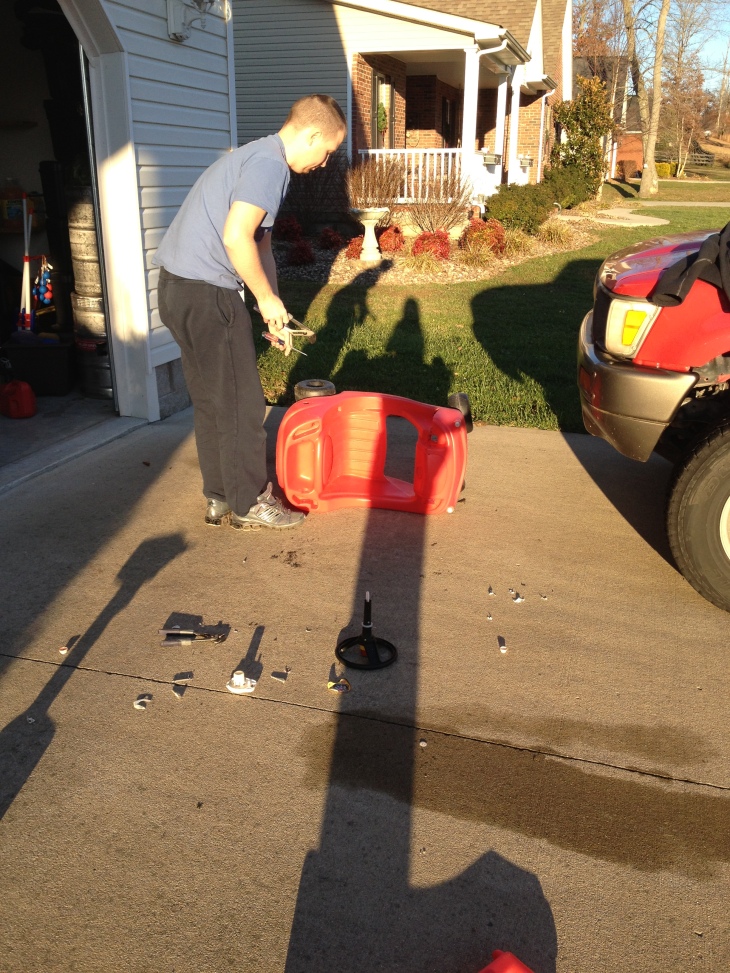
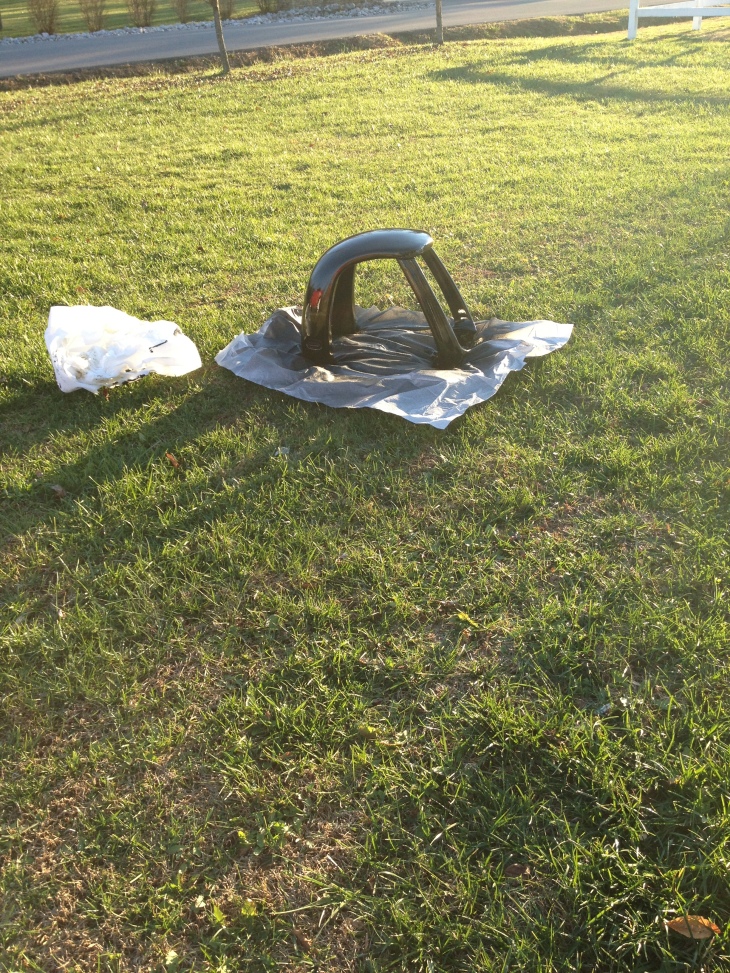
First we took the car apart and spray painted it. For everything painted, I used two cans of black gloss rustoleum paint and two cans of red rustoleum paint. We could have maybe got away with only using one black, but I felt it needed another coat. Also we had to buy a few new parts to put it back together, as they were old and basically fell into pieces when we took them off.
For the ears and bow, we used a piece of 1/2″ plywood. Little Corbin Hill chose to make her mouse ears out of craft foam, but I wanted something much sturdier and more durable. Also, I felt that the craft foam would like pretty flimsy behind the big wooden bow. I also cannot draw to save my life, so I would never attempt to free hand a bow. I used my cricut to cut a large bow (using Disney Mickey Font cartridge) and two circles. I tried cutting a few different sizes to see what I felt look best. My mother and I then repeatedly folded and rearranged the bows/ears to make sure that they flowed nicely on top of the car. I didn’t want a huge gap of space, so the bottom edges had to be slanted and flattened quite a bit. We then traced the bow and two ears onto the plywood, and my dad cut them out and spray painted them for us. My dad secured them to the top of the car by gluing the bow to the ears and then placing a couple of screws through the bottom of the top to hold them in place. I really think doing the ears in wood too made it look a lot better.
As for the polka dots on the bow, we totally cheated. We used those little white circle stickers you get to put price tags on yard sale stuff. You can get them at pretty much any store that has any office supplies. Kind of like these I found on ebay. They look ten times better than painted on dots and were a zillion times faster.
After my husband put the car back together, I got the cricut back out and went to work on making dots for the car. I made my dots much smaller than the ones on Little Corbin Hill, but again I like having more dots better. To make these dots, I bought white vinyl and transfer tape from Hobby Lobby. I could have done it without the transfer tape. I had never used vinyl before though, so I didn’t know how easy/hard it was to work with. I cut out two pages of 2″ circles and simply peeled and stuck them on the car. I made sure to put some that followed in with the grooves of the car to make it look more “painted on” rather than stickers.

Here is Elise testing it out convertible style while mommy worked on it!

I then cut out her name in the vinyl using the Disney Mickey Font cartridge and put it on the license plate. I chose to do that instead of putting it on the top of the car because I felt with the big wooden ears and bow and all the extra dots, that it needed that extra black space showing to balance it out. That turned out to be a great idea because it is so cute on the back!!


Finally, I took it outside and sprayed it with sealant. If you skip this step, you’ve probably wasted all of your time, because I doubt it would make it through a summer. I need to spray it with sealant one more time, but ran out of time before her party. So I’ll get to it the next pretty day.


Elise is a little young for it right now, but she loves to sit in it. I am confident that she will be ready to take over the neighborhood in it next summer! It was a huge hit at her party, and I’m sure that any little girl (or boy if you want to do a Mickey version!) would go crazy over it! I also think it would be a super cute idea to do a ladybug or Hello Kitty one! Or maybe a super man or camo one for a little boy!
Update: My inbox has been exploding with people wanting help with the materials for the Minnie car so I put together a package.
$45 – Includes:
28 – 3 inch dots on vinyl (for car body)
Name cut out of vinyl for License Plate (no more than 5 letters or it will be too small to look good. I recommend using initials or a nickname if name is more than 5 letters)
Ears and bow template cut out on cardstock for you to trace onto wood. Please understand that you WILL have to adjust this some to fit your car, as the ears/bow template doesn’t have the slant in the bottom of the ears/bow to make it run smooth with the hood of the car. I will attempt to fold it down for you using Elise’s car, but you will have to readjust using your car hood before you trace it onto your wood.
Shipping to US only
This does NOT include the transfer tape. Transfer tape is not necessary, but is helpful for the name. I did not use transfer tape when applying the vinyl dots to the car. It can be found at a local craft store for around $10 a roll.
HERE IS THE LINK TO THE ETSY LISTING – http://www.etsy.com/shop/CraftsWithElise
You must go through etsy to purchase the kit.
Please do not email me on my personal email or photography page. Thank you.
Want to get these super cute nails??? Follow this link and contact me today! If you are reading this after July 10th I can still order these for you! There are also other SUPER cute Disney nails on this blog post!

Check out all 300+ Jamberry nail designs here!
Check out more of Elise’s Birthday Fun:
Meeska Mooska MINNIE MOUSE!
Happy Birthday Elise
Elise’s Birthday Cake Pancakes
Minnie & Mickey Party Hat Tutorial
Minnie Head Centerpieces Tutorial


